Ubuntu 下安装 Nginx
这一节学习在 Ubuntu 上搭建 Nginx 服务。本次实验环境为 Ubuntu 18.04, Nginx 版本为 1.17.6(截止到 2019 年 12 月 12 日最新版本)。
1. 下载源码包并解压
打开终端并运行下面两条命令即可下载并解压 Nginx :
$ wget http://Nginx.org/download/nginx-1.17.6.tar.gz
$ tar -xzf Nginx-1.17.6.tar.gz
2. 预装依赖包
Nginx 是完全用 c 语言编写的,所以想要编译 Nginx,必须要有 c 编译器(gcc), 只要系统里有 gcc, Nginx 就可以编译安装。
但是往往我们会用的到 Nginx 的一些重要功能,比如压缩和解压缩功能,这时就必须需要依赖 zlib 库,想在配置文件中使用正则表达式,就必须安装 pcre 库,最后想实现 SSL/TLS 功能,必须安装 openssl 库。
无论是在 Ubuntu 还是 CentOS 系统中都大致如此,只不过管理软件包的工具不一样,依赖库的名称也不一样。在 Ubuntu 系统下,在 Ubuntu 中执行如下命令安装依赖库:
$ sudo apt-get update                # 更新下apt源
$ sudo apt-get install gcc           # Nginx必备
$ sudo apt-get install make          # 编译安装需要make工具
$ sudo apt-get install libz-dev
$ sudo apt-get install libpcre3-dev
$ sudo apt-get install libssl-dev
3. 编译并安装
傻瓜式,使用默认安装配置,以及默认安装模块。这样 Nginx 将会安装到默认的 /usr/local/nginx 目录,可执行文件是 /usr/local/nginx/sbin/nginx,默认的配置文件是 /usr/local/nginx/conf/nginx.conf。
$ cd nginx-1.17.6
$ ./configure                # 编译,检查依赖是否正确
$ make && sudo make install  # 安装
如果想自定义比如安装目录、编译新的模块或者第三方模块,需要使用相应的参数。
# 参数说明:
--prefix=PATH: #指定安装目录
--with-xxx\_module: #添加某某模块, xxx为对应的模块名称,比如--with-http\_ssl\_module等,这是针对没有默认编译进Nginx的模块
--without-xxx\_module: #禁止某模块编译进 Nginx , xxx 为对应模块名称,比如--without-stream\_access\_module 等,这是针对默认会编译进 Nginx 的模块
--add-module=PATH: #添加第三方 Nginx 模块,指定模块路径即可,非常简单

# 对于查看具体支持哪些参数选项,包括所有可以加入和禁止编译进Nginx的模块,
# 通过如下命令查询:
$ ./configure --help

# 我们为后续开展测试,多添加几个模块进Nginx,让编译出来的Nginx具备更多功能
$ ./configure  --prefix=/root/nginx            \
--with-http_ssl_module                       \
--with-http_stub_status_module               \
--with-http_gzip_static_module               \
--with-stream                                \
--with-http_realip_module                    \
--with-http_flv_module                       \
--with-http_random_index_module              \
--with-mail                                  \
--with-pcre                                  \
# 安装
$ make && sudo make install
4. 启动 Nginx 服务
安装完成后,Nginx 的文件默认全在 --prefix 指定的目录中,即 /root/nginx。编译出的 Nginx 二进制文件在 /root/nginx/sbin 目录下,默认的配置文件为 /root/nginx/conf/nginx.conf。我们可以直接启动 Nginx:
$ cd /root/nginx/sbin
$ ./nginx
$ curl http://localhost  # 测试 Nginx 服务是否启动成功
如果最后一步测试,发现返回 403(权限拒绝)的结果,我们可以修改下 nginx.conf 的配置,将 nginx.conf 中第一行 user 指令参数设置为 root,然后在重启或者热加载 Nginx 并执行 curl 请求,查看结果。
$ cd /root/nginx/conf
$ vim nginx.conf
$ cat nginx,conf
# 指定nginx以root用户启动
user root;
...

# 这次就能正确返回'Welcome to nginx'这样的信息了
$ curl http://localhost
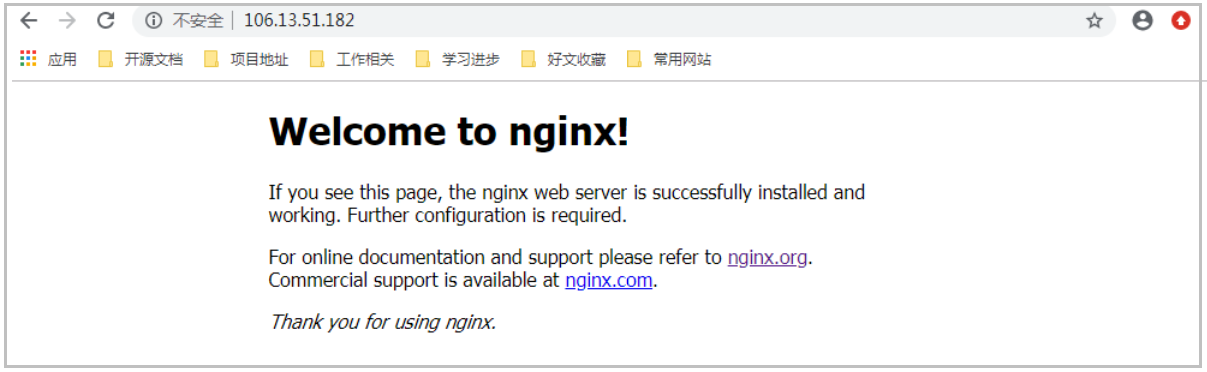
另外从浏览器上直接请求,也可以看到欢迎页面。
Tips:对于百度、阿里、腾讯这样的云主机,需要事先放通 80 端口,允许外面通过 80 端口访问服务,以及数据从 80 端口出去。
5. Nginx 服务的操作
$ cd /root/nginx/sbin
# 查看版本信息
$ ./nginx -v
# 查看详情,可以看到编译进Nginx中的模块
$ ./nginx -V
# stop|quit: 停止服务,区别和windows中的一致 reload:热加载 reopen:重新打开日志文件
$ ./nginx -s stop|reload|reopen
# -c 指定配置文件,默认就是Nginx安装目录下的conf/nginx.conf文件
$ ./nginx -c /root/nginx/conf/nginx.conf
# -t 测试配置文件语法是否正常
$ ./nginx -tc /root/nginx/conf/nginx.conf
来看看在服务器上执行 Nginx 命令的结果:
$ cd /root/nginx/sbin
$ ./nginx -t
nginx: the configuration file /root/nginx/conf/nginx.conf syntax is ok
nginx: configuration file /root/nginx/conf/nginx.conf test is successful

$ ./nginx -V
nginx version: nginx/1.17.6
built by gcc 7.4.0 (Ubuntu 7.4.0-lubuntu1~18.04.1)
built with OpenSSL 1.0.2k-fips  26 Jan 2017
TLS SNI support enabled
configure arguments: --prefix=/root/nginx --with-http_ssl_module --with-http_stub_status_module --with-http_gzip_static_module --with-stream --with-http_realip_module --with-http_flv_module --with-http_random_index_module --with-mail --with-pcre