在 TensorFlow 之中使用文本数据
在之前的学习之中,我们曾经学习过如何进行文本分类,但是归根结底我们都是采用 TensorFlow 内置的 API 来直接获取数据集的 Dataset ,而没有真正的从文本文件中加载数据集。
在实际的机器学习任务之中,我们的数据集不可能每个都由 TensorFlow 提供,大多数的数据都是我们自行加载的。而对于文本数据,我们使用最多的数据格式就是 txt 数据格式,因此这节课我们来学习如何从文本文件中使用文本数据。
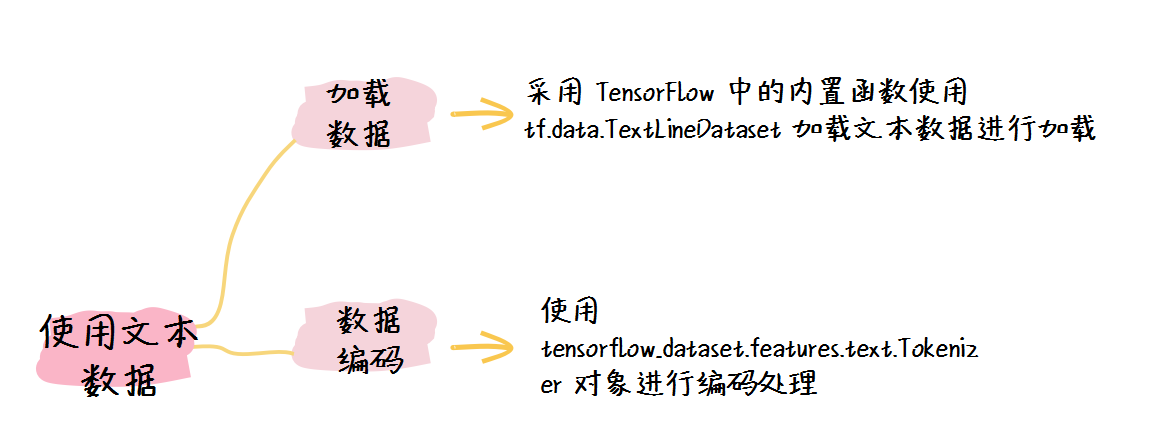
要使用文本数据,我们大致可以分为两个步骤:
- 使用 tf.data.TextLineDataset 加载文本数据;
- 使用编码将数据进行编码。
1. 使用 tf.data.TextLineDataset 加载文本数据
在 TensorFlow 之中加载文本数据最常用的方式就是采用 TensorFlow 中的内置函数使用 tf.data.TextLineDataset 加载文本数据进行加载。
由于该 API 的存在,在 TensorFlow 之中加载数据变得非常简单、快捷。
在这里,我们先使用谷歌仓库中的 txt 作为一个示例,大家可以使用自己的 txt 文件进行测试。
import tensorflow as tf
import os

txt_path = tf.keras.utils.get_file('derby.txt', origin='https://storage.googleapis.com/download.tensorflow.org/data/illiad/derby.txt')

dataset = tf.data.TextLineDataset(txt_path).map(lambda x: (x, 0))
dataset.shuffle(1000).batch(32)

print(dataset)
for data in labeled_dataset.take(4):
  print(data)
在这里,我们要注意以下几点:
- 首先我们使用 tf.data.TextLineDataset 函数来加载 txt 文件,该函数会将其自动转化为 tf.data.Dataset 对象;
- 然后我们对每条数据进行了映射处理,因为数据集需要含有标签,而我们的 txt 不含标签,因此我们使用 0 作为暂时的标签;
- 再者我们使用 shuffle 对数据集进行了随机化处理,然后又进行了分批的处理,这里的批大小为 32 ;
- 最后我们查看了前四条数据。
于是我们可以得到结果:
<MapDataset shapes: ((), ()), types: (tf.string, tf.int32)>
(<tf.Tensor: shape=(), dtype=string, numpy=b"\xef\xbb\xbfOf Peleus' son, Achilles, sing, O Muse,">, <tf.Tensor: shape=(), dtype=int32, numpy=0>)
(<tf.Tensor: shape=(), dtype=string, numpy=b'The vengeance, deep and deadly; whence to Greece'>, <tf.Tensor: shape=(), dtype=int32, numpy=0>)
(<tf.Tensor: shape=(), dtype=string, numpy=b'Unnumbered ills arose; which many a soul'>, <tf.Tensor: shape=(), dtype=int32, numpy=0>)
(<tf.Tensor: shape=(), dtype=string, numpy=b'Of mighty warriors to the viewless shades'>, <tf.Tensor: shape=(), dtype=int32, numpy=0>)
可以发现,我们已经成功创建了数据集,但是没有进行编码处理,这显然是不适合直接进行机器学习的。
2. 使用编码将数据进行编码
我们可以使用 tensorflow_dataset.features.text.Tokenizer 对象进行编码处理,该对象能够将接收到的句子进行编码。同时,我们可以通过 tensorflow_dataset.features.text.TokenTextEncoder 函数进行编码器的构建。
import tensorflow_datasets as tfds

tokenizer = tfds.features.text.Tokenizer()

vocab = set()
for text, l in dataset:
  token = tokenizer.tokenize(text.numpy())
  vocab.update(token)

print(len(vocab))
于是我们可以得到输出:
9703
然后我们可以进行编码操作(以下映射方式参考于 TensorFlow 官方文档):
# 定义编码器
encoder = tfds.features.text.TokenTextEncoder(vocab)

def encode(text, label):
  encoded_text = encoder.encode(text.numpy())
  return encoded_text, label

# 使用tf.py\_function进行映射
def encode\_map\_fn(text, label):
  encoded_text, label = tf.py_function(encode, inp=[text, label], Tout=(tf.int32, tf.int32))

  # 手动设置形状Shape
  encoded_text.set_shape([None])
  label.set_shape([])

  return encoded_text, label

# 进行编码处理
encoded_data_set = dataset.map(encode_map_fn)
print(encoded_data_set)
for data in encoded_data_set.take(4):
  print(data)
在这里,我们进行了以下几步操作:
- 我们首先使用 tfds.features.text.TokenTextEncoder 对象构造了编码器;
- 然后我们对每个数据进行了映射处理;
- 在每个映射操作之中,我们使用 tf.py_function 函数进行映射操作;这是因为,如果在 map 函数之中调用 Tensor.numpy() 函数会报错,因此需要使用 tf.py_function 进行映射操作;
- 最后,因为 tf.py_function 不会设置数据的形状 Shape ,因此我们需要手动设置 Shape 。
于是,我们可以得到输出:
<MapDataset shapes: ((None,), ()), types: (tf.int32, tf.int32)>
(<tf.Tensor: shape=(7,), dtype=int32, numpy=array([7755, 4839, 4383, 5722, 4996, 2065, 8059], dtype=int32)>, <tf.Tensor: shape=(), dtype=int32, numpy=0>)
(<tf.Tensor: shape=(8,), dtype=int32, numpy=array([ 855, 5184,  700, 8356, 5931, 5665, 4634, 7127], dtype=int32)>, <tf.Tensor: shape=(), dtype=int32, numpy=0>)
(<tf.Tensor: shape=(7,), dtype=int32, numpy=array([1620, 6817, 5649, 5461, 5505,  209, 3146], dtype=int32)>, <tf.Tensor: shape=(), dtype=int32, numpy=0>)
(<tf.Tensor: shape=(7,), dtype=int32, numpy=array([7755, 1810, 3656, 4634, 4920, 1136, 6789], dtype=int32)>, <tf.Tensor: shape=(), dtype=int32, numpy=0>)
于是我们可以发现,我们的数据集已经成功编码,现在可以便可以使用该数据集进行模型的训练了。
3. 小结
在这节课之中,我们学习了如何在 TensorFlow 之中使用文本数据。总体而言,在大多数的学习任务之中都需要我们手动载入文本数据,我们一方面可以通过 tf.data.TextLineDataset 加载文本数据,另外一方面我们需要使用 tensorflow_dataset.features.text.Tokenizer 进行文本的编码处理。