Scrapy 中的 Request 和 Response
今天我们来介绍 Scrapy 框架给我们提供的 Request 和 Response 类,通过深入分析源码找出它的常用属性和方法以及一些使用技巧。这一小节内容主要是 Scrapy 框架中的基础知识,后面我们会经常用到这两个类。熟悉和掌握它们的源码实现,对我们在后续使用它们时会有巨大的帮助。
1. Request 类
首先 Scrapy 中关于 Request 相关的源码位置如下:
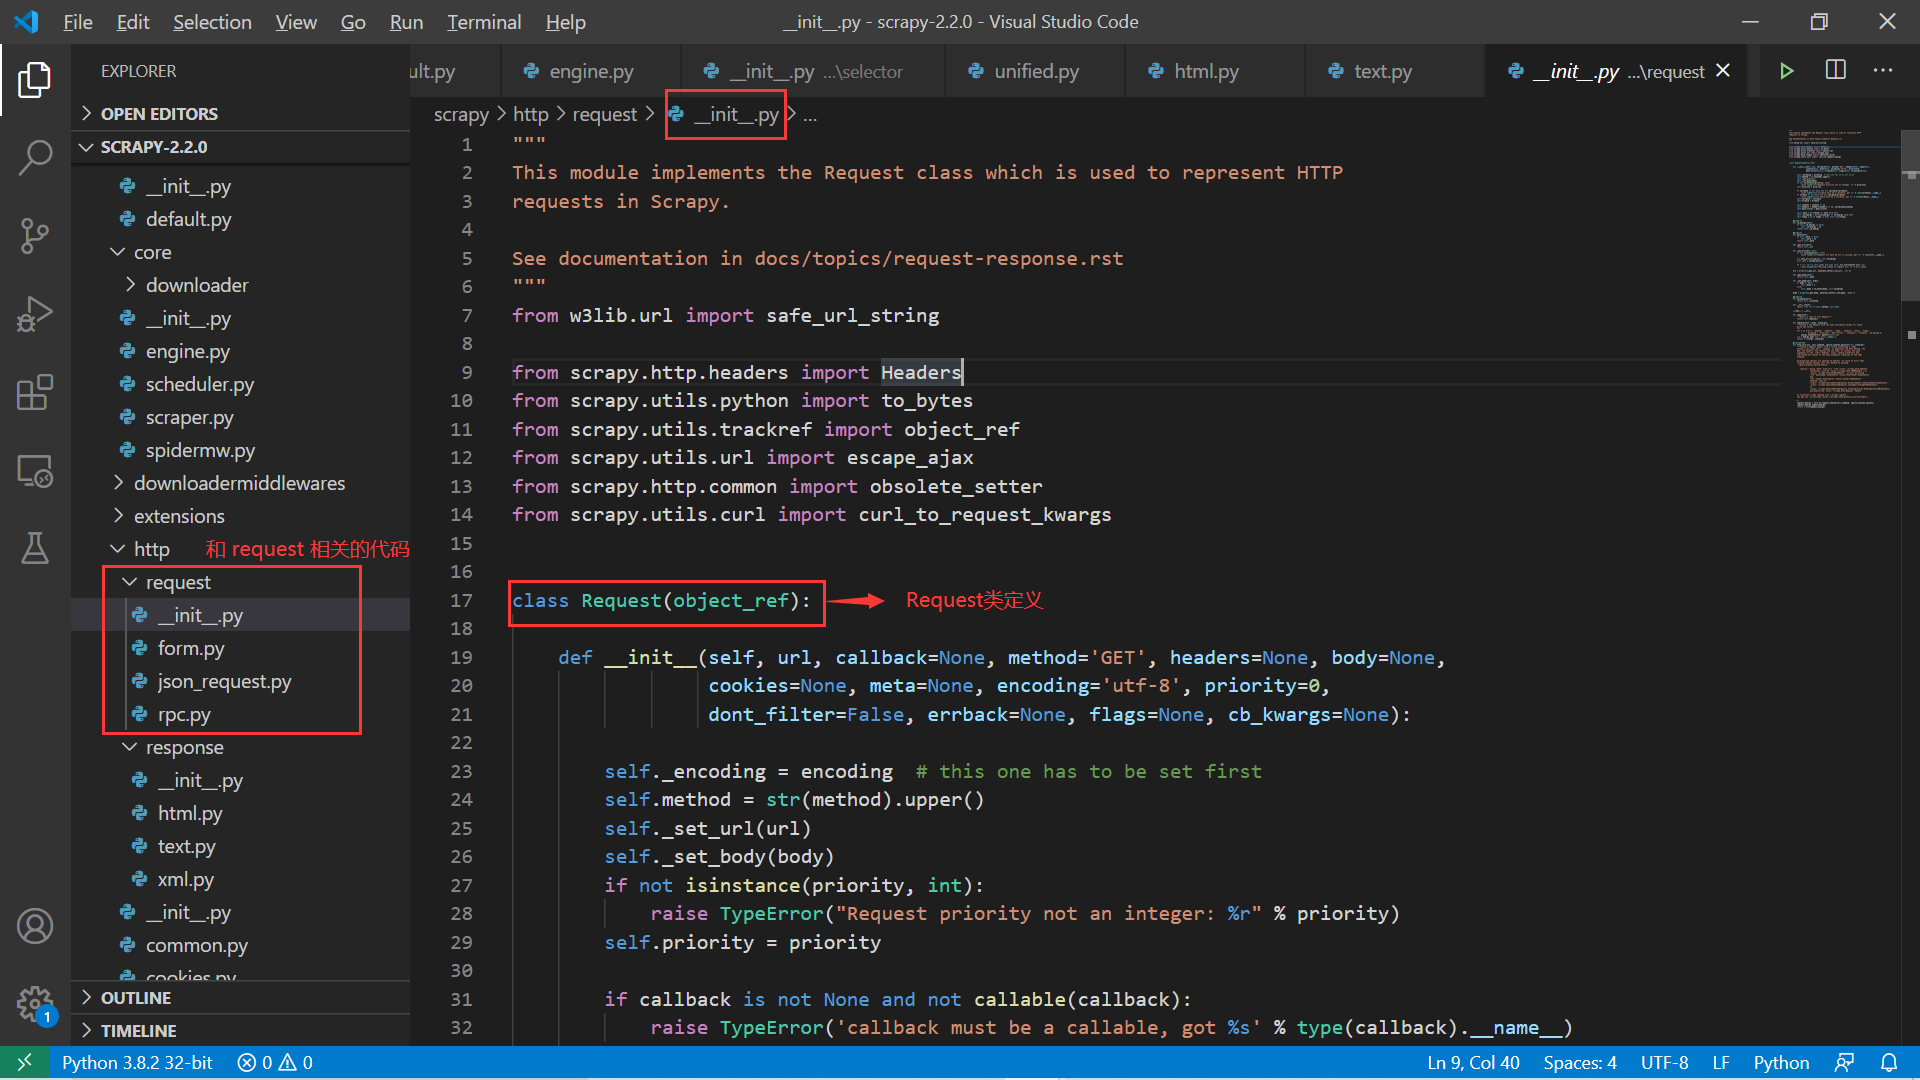
scrapy 中 Request 相关的代码 可以看到 Request 定义相关的代码并不多,这也方便我们去学习和探索。先来看 Request 类的定义:
# 源码位置:scrapy/http/request/\_\_init\_\_.py
from w3lib.url import safe_url_string

# ...
class Request(object_ref):

    def \_\_init\_\_(self, url, callback=None, method='GET', headers=None, body=None,
                 cookies=None, meta=None, encoding='utf-8', priority=0,
                 dont_filter=False, errback=None, flags=None, cb_kwargs=None):

        self._encoding = encoding  # this one has to be set first
        self.method = str(method).upper()
        self._set_url(url)
        self._set_body(body)
        if not isinstance(priority, int):
            raise TypeError("Request priority not an integer: %r" % priority)
        self.priority = priority

        if callback is not None and not callable(callback):
            raise TypeError('callback must be a callable, got %s' % type(callback).__name__)
        if errback is not None and not callable(errback):
            raise TypeError('errback must be a callable, got %s' % type(errback).__name__)
        self.callback = callback
        self.errback = errback

        self.cookies = cookies or {}
        self.headers = Headers(headers or {}, encoding=encoding)
        self.dont_filter = dont_filter

        self._meta = dict(meta) if meta else None
        self._cb_kwargs = dict(cb_kwargs) if cb_kwargs else None
        self.flags = [] if flags is None else list(flags)


    # ...
从上面的源码中可以看到 Scrapy 框架使用了 w3lib 模块来完成一些 Web 相关的功能,这里用到了 url 模块的相关功能。safe_url_string() 方法是将 url 转成合法的形式,也就是将一些特殊字符比如中文、空格等进行想要的编码。来看下面的例子:
>>> from w3lib.url import safe_url_strin
>>> url = "http://www.baidu.com/?xxx= zyz"
>>> safe_url_string(url)
'http://www.baidu.com/?xxx=%20zyz'
最后得到的 URL 形式和我们在浏览器按下 Enter 键时一致。此外,对于 Request 类实例化时可以传入多种初始属性,常用的属性含义如下:
- url:请求地址;
- method:请求类型,GET|POST|PUT|DELETE 等;
- callback: HTTP 请求的回调方法,用于指定该 HTTP 请求的解析响应数据的方法;
- headers: 设置请求头。一般而言时设置请求头的
User-Agent字段,模拟浏览器请求; - body: 用于设置请求参数,比如登录请求需要带上用户名/密码等参数;
- cookies: 请求 cookies 信息,一般和登录认证相关,带上 cookies 用于表明身份信息。
熟悉了这个 Request 类后,我们来看一些在 Request 基础上进一步扩展的请求类。其中一个是 FormRequest:
# 源码位置:scrapy/http/request/form.py
# ...

class FormRequest(Request):
    valid_form_methods = ['GET', 'POST']

    def \_\_init\_\_(self, \*args, \*\*kwargs):
        formdata = kwargs.pop('formdata', None)
        if formdata and kwargs.get('method') is None:
            kwargs['method'] = 'POST'

        super(FormRequest, self).__init__(\*args, \*\*kwargs)

        if formdata:
            items = formdata.items() if isinstance(formdata, dict) else formdata
            querystr = _urlencode(items, self.encoding)
            if self.method == 'POST':
                self.headers.setdefault(b'Content-Type', b'application/x-www-form-urlencoded')
                self._set_body(querystr)
            else:
                self._set_url(self.url + ('&' if '?' in self.url else '?') + querystr)

# ...
FormRequest 类主要用于提交表单请求,比如登录认证、比如提交订单等。它只支持 GET 和 POST 请求,且相比 Request 类,FormRequest 类多了一个表单参数属性,这个是检查提交表单请求的数据。来分析实例化时对表单参数的处理,代码如下:
if formdata:
    items = formdata.items() if isinstance(formdata, dict) else formdata
    querystr = _urlencode(items, self.encoding)
    if self.method == 'POST':
        self.headers.setdefault(b'Content-Type', b'application/x-www-form-urlencoded')
        self._set_body(querystr)
    else:
        self._set_url(self.url + ('&' if '?' in self.url else '?') + querystr)

# ...

def \_urlencode(seq, enc):
    values = [(to_bytes(k, enc), to_bytes(v, enc))
              for k, vs in seq
              for v in (vs if is_listlike(vs) else [vs])]
    return urlencode(values, doseq=1)
这个代码的逻辑是非常清晰的,如果有表单数据,会分成 GET 和 POST 请求处理:
- GET 请求:将请求参数添加到 url 后面,用 “?” 连接,参数之间用 “&” 连接;
- POST 请求:一方面设置请求的 header,另一方面将数据放到 body 体中;
还有两个 JsonRequest 和 XmlRpcRequest 类,都是使用不同的形式来发送 HTTP 请求,我们来看两个类中非常关键的几行语句:
# 源码位置:scrapy/http/request/json\_request.py
# ...
class JsonRequest(Request):
    def \_\_init\_\_(self, \*args, \*\*kwargs):
        # ...

        if body_passed and data_passed:
            # ...
        elif not body_passed and data_passed:
            kwargs['body'] = self._dumps(data)

            if 'method' not in kwargs:
                kwargs['method'] = 'POST'

        super(JsonRequest, self).__init__(\*args, \*\*kwargs)
        self.headers.setdefault('Content-Type', 'application/json')
        self.headers.setdefault('Accept', 'application/json, text/javascript, \*/\*; q=0.01')

    # ...
这里 JsonRequest 中主要讲 data 数据转成 json 格式,然后保存到 body 属性中,然后设置了请求头的 Content-Type 属性为 “application/json”。
# 源码位置:scrapy/http/request/rpc.py

import xmlrpc.client as xmlrpclib
# ...

class XmlRpcRequest(Request):

    def \_\_init\_\_(self, \*args, \*\*kwargs):
        # ...
        if 'body' not in kwargs and 'params' in kwargs:
            kw = dict((k, kwargs.pop(k)) for k in DUMPS_ARGS if k in kwargs)
            # 关键地方
            kwargs['body'] = xmlrpclib.dumps(\*\*kw)

        # ...
XmlRpcRequest 用来发送 XML-RPC 请求,关键的地方在于请求数据设置,使用了 xmlrpc 模块。
2. Respone 类
Response 类主要是封装了前面请求的响应结果,爬虫的一个很重要的部分就是解析这些 Response,得到我们想要的结果。这一部分内容我们就来深入分析 Response 类以及扩展类。
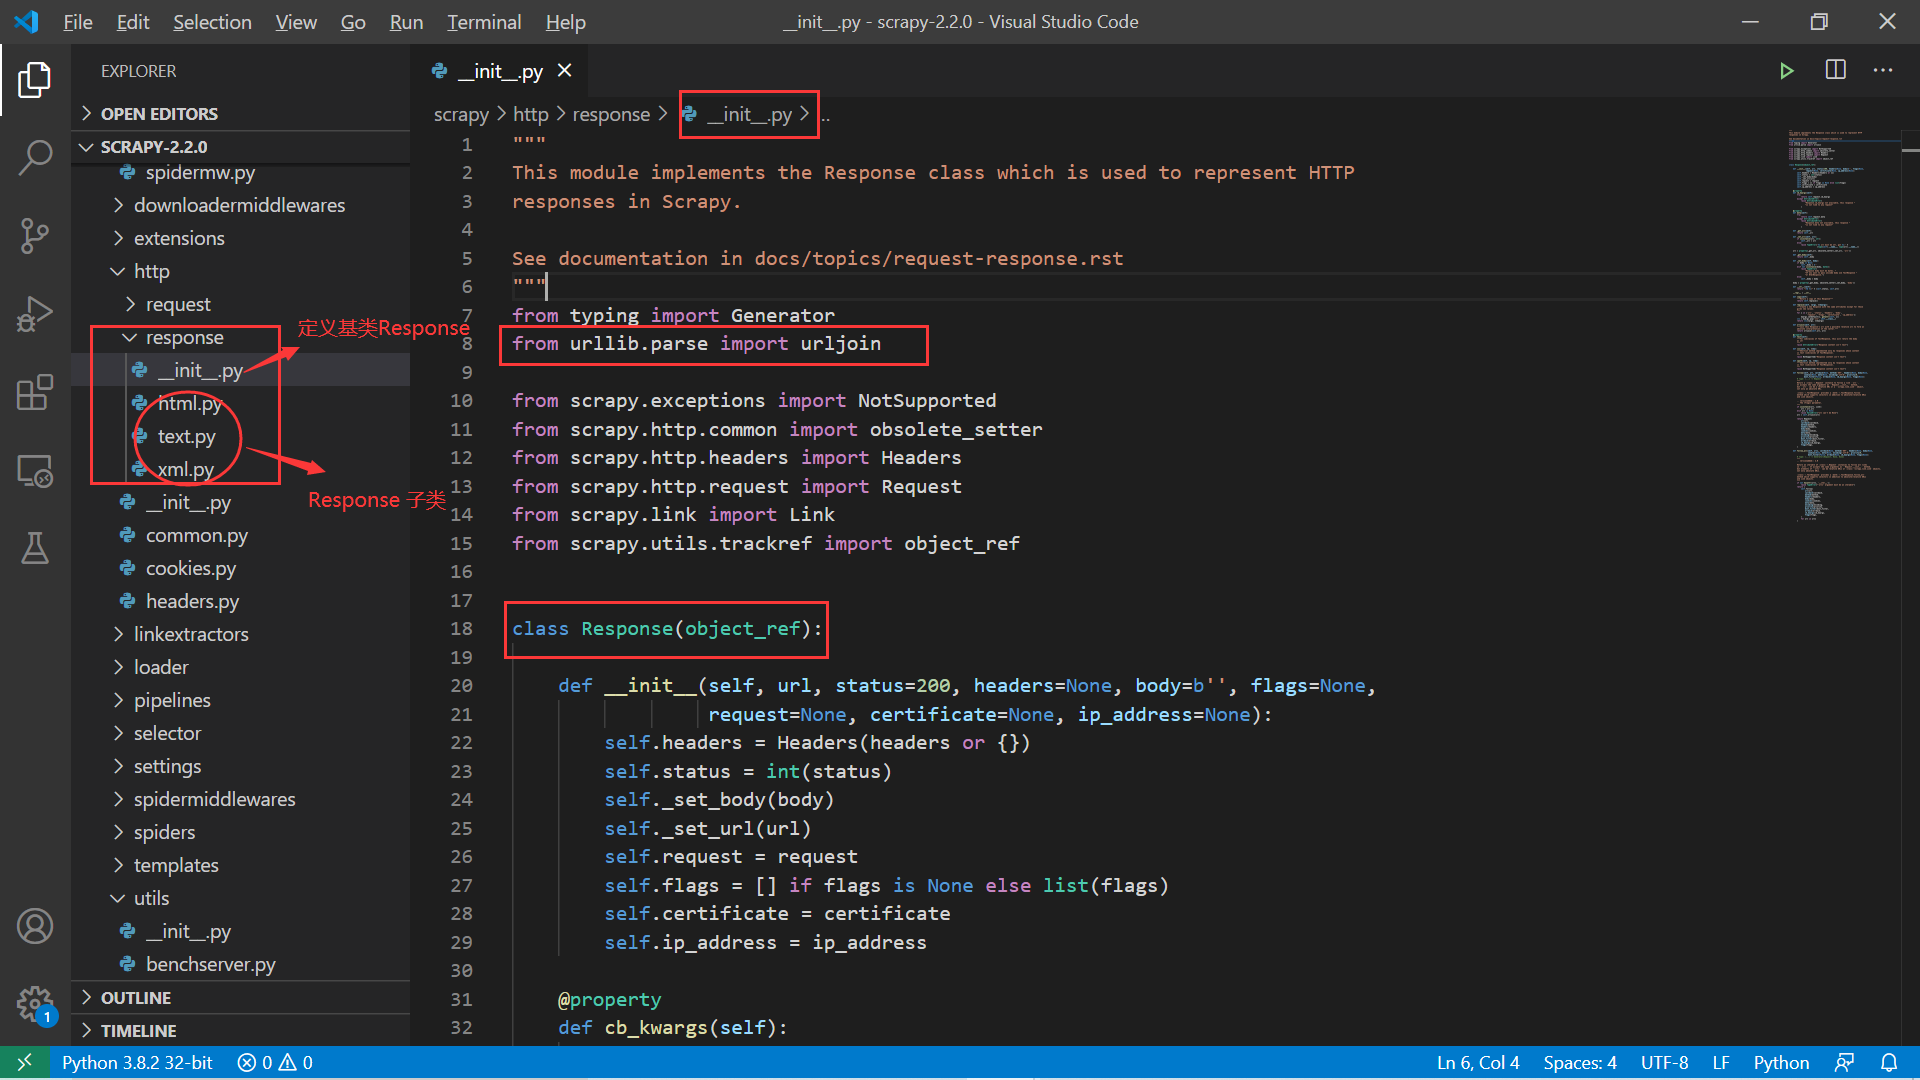
Response类相关代码 翻看源码,我们可以得到如下信息:
- __init__.py 中定义了 Response 基类;
- text.pym 中定义的 TextResponse 类直接继承 Response 类并进行了一系列扩展和重载部分方法;
html.py和xml.py中分别定义的 HtmlResponse 和 XmlResponse 都只继承了 TextResponse ,并未做过多的修改,只是分别取了个别名:
# 源码位置:scrapy/http/response/html.py
from scrapy.http.response.text import TextResponse


class HtmlResponse(TextResponse):
    pass


# 源码位置:scrapy/http/response/xml.py
from scrapy.http.response.text import TextResponse


class XmlResponse(TextResponse):
    pass
接下来我们的重点就是学习 Response 类和 TextResponse 类。
Response 类有如下几个常用属性值:
- headers:头部信息;
- status:返回状态码;
- body:响应内容;
- url:请求的 url;
- request:对应的 request 请求;
- ip_address:请求的 ip 地址。
我们还是通过 Scrapy Shell 请求广州链家二手房的地址来看看真实的 Response 并打印上述值:
(scrapy-test) [root@server ~]# scrapy shell https://gz.lianjia.com/ershoufang/ --nolog
[s] Available Scrapy objects:
[s]   scrapy     scrapy module (contains scrapy.Request, scrapy.Selector, etc)
[s]   crawler    <scrapy.crawler.Crawler object at 0x7f9890d5a100>
[s]   item       {}
[s]   request    <GET https://gz.lianjia.com/ershoufang/>
[s]   response   <200 https://gz.lianjia.com/ershoufang/>
[s]   settings   <scrapy.settings.Settings object at 0x7f9890d57bb0>
[s]   spider     <DefaultSpider 'default' at 0x7f989034dd90>
[s] Useful shortcuts:
[s]   fetch(url[, redirect=True]) Fetch URL and update local objects (by default, redirects are followed)
[s]   fetch(req)                  Fetch a scrapy.Request and update local objects
[s]   shelp()           Shell help (print this help)
[s]   view(response)    View response in a browser
>>> response.headers
{b'Server': [b'Lianjia'], b'Date': [b'Sun, 12 Jul 2020 07:37:16 GMT'], b'Content-Type': [b'text/html; charset=UTF-8'], b'Vary': [b'Accept-Encoding'], b'Set-Cookie': [b'select\_city=440100; expires=Mon, 13-Jul-2020 07:37:16 GMT; Max-Age=86400; path=/; domain=.lianjia.com', b'lianjia\_ssid=a0980b19-93f6-4942-a898-96ea722d524d; expires=Sun, 12-Jul-20 08:07:16 GMT; Max-Age=1800; domain=.lianjia.com; path=/', b'lianjia\_uuid=12165c9c-6c66-4996-9e2c-623a838efd4a; expires=Wed, 10-Jul-30 07:37:16 GMT; Max-Age=315360000; domain=.lianjia.com; path=/'], b'Via': [b'web05-online.zeus.ljnode.com']}
>>> response.status
200
>>> response.url
'https://gz.lianjia.com/ershoufang/'
>>> response.ip_address
IPv4Address('211.159.232.241')
>>>
>>> response.request
<GET https://gz.lianjia.com/ershoufang/>
>>>
注意:关于这个 response,我们前面在分析 scrapy shell [url] 命令的执行过程中说过,如果命令后面带上要爬取的 URL 地址,那么在交互式的 shell 生成前,会将一些得到的基本的环境变量包括请求 URL 的响应结果 (response) 放到该环境变量中,这就是为什么我们能在该交互模式下直接使用 response 获取请求结果的原因。
来看看 Response 类中预留的一些方法:
# 源码位置:scrapy/http/response/\_\_init\_\_.py
# ...

class Response(object_ref):
    def \_\_init\_\_(self, url, status=200, headers=None, body=b'', flags=None,
                 request=None, certificate=None, ip_address=None):
        self.headers = Headers(headers or {})
        self.status = int(status)
        self._set_body(body)
        self._set_url(url)
        self.request = request
        self.flags = [] if flags is None else list(flags)
        self.certificate = certificate
        self.ip_address = ip_address

    # ...


    @property
    def text(self):
        """For subclasses of TextResponse, this will return the body
 as str
 """
        raise AttributeError("Response content isn't text")

    def css(self, \*a, \*\*kw):
        """Shortcut method implemented only by responses whose content
 is text (subclasses of TextResponse).
 """
        raise NotSupported("Response content isn't text")

    def xpath(self, \*a, \*\*kw):
        """Shortcut method implemented only by responses whose content
 is text (subclasses of TextResponse).
 """
        raise NotSupported("Response content isn't text")

    # ...
上面这些预留的 text 属性、css() 方法以及 xpath() 方法都会在 TextResponse 中有相应的实现。接下来我们仔细分析 TextResponse 的这些属性和的方法:
# 源码位置:

class TextResponse(Response):

    _DEFAULT_ENCODING = 'ascii'
    _cached_decoded_json = _NONE

    def \_\_init\_\_(self, \*args, \*\*kwargs):
        self._encoding = kwargs.pop('encoding', None)
        self._cached_benc = None
        self._cached_ubody = None
        self._cached_selector = None
        super(TextResponse, self).__init__(\*args, \*\*kwargs)

    # ...
从 __init__() 方法中可以看到,TextResponse 的属性和父类基本没变化,只是增加了一些用于缓存的属性。接下来我们再看几个重要的属性和方法:
# ...

class TextResponse(Response):
    ....


    @property
    def text(self):
        """ Body as unicode """
        # access self.encoding before \_cached\_ubody to make sure
        # \_body\_inferred\_encoding is called
        benc = self.encoding
        if self._cached_ubody is None:
            charset = 'charset=%s' % benc
            self._cached_ubody = html_to_unicode(charset, self.body)[1]
        return self._cached_ubody

    # ...
上面这段代码的逻辑就是将 body 属性中的值转成 str,我们可以在 Scrapy Shell 模式下复现这一操作:
(scrapy-test) [root@server ~]# scrapy shell https://www.baidu.com --nolog
[s] Available Scrapy objects:
[s] scrapy scrapy module (contains scrapy.Request, scrapy.Selector, etc)
[s] crawler <scrapy.crawler.Crawler object at 0x7faf4f318190>
[s] item {}
[s] request <GET https://www.baidu.com>
[s] response <200 https://www.baidu.com>
[s] settings <scrapy.settings.Settings object at 0x7faf4f315b50>
[s] spider <DefaultSpider 'default' at 0x7faf4e9122b0>
[s] Useful shortcuts:
[s] fetch(url[, redirect=True]) Fetch URL and update local objects (by default, redirects are followed)
[s] fetch(req) Fetch a scrapy.Request and update local objects
[s] shelp() Shell help (print this help)
[s] view(response) View response in a browser
>>> response.body
b'<!DOCTYPE html>\r\n<!--STATUS OK--><html> <head><meta http-equiv=content-type content=text/html;charset=utf-8><meta http-equiv=X-UA-Compatible content=IE=Edge><meta content=always name=referrer><link rel=stylesheet type=text/css href=https://ss1.bdstatic.com/5eN1bjq8AAUYm2zgoY3K/r/www/cache/bdorz/baidu.min.css><title>\xe7\x99\xbe\xe5\xba\xa6\xe4\xb8\x80\xe4\xb8\x8b\xef\xbc\x8c\xe4\xbd\xa0\xe5\xb0\xb1\xe7\x9f\xa5\xe9\x81\x93</title></head> <body link=#0000cc> <div id=wrapper> <div id=head> <div class=head\_wrapper> <div class=s\_form> <div class=s\_form\_wrapper> <div id=lg> <img hidefocus=true src=//www.baidu.com/img/bd\_logo1.png width=270 height=129> </div> <form id=form name=f action=//www.baidu.com/s class=fm> <input type=hidden name=bdorz\_come value=1> <input type=hidden name=ie value=utf-8> <input type=hidden name=f value=8> <input type=hidden name=rsv\_bp value=1> <input type=hidden name=rsv\_idx value=1> <input type=hidden name=tn value=baidu><span class="bg s\_ipt\_wr"><input id=kw name=wd class=s\_ipt value maxlength=255 autocomplete=off autofocus=autofocus></span><span class="bg s\_btn\_wr"><input type=submit id=su value=\xe7\x99\xbe\xe5\xba\xa6\xe4\xb8\x80\xe4\xb8\x8b class="bg s\_btn" autofocus></span> </form> </div> </div> <div id=u1> <a href=http://news.baidu.com name=tj\_trnews class=mnav>\xe6\x96\xb0\xe9\x97\xbb</a> <a href=https://www.hao123.com name=tj\_trhao123 class=mnav>hao123</a> <a href=http://map.baidu.com name=tj\_trmap class=mnav>\xe5\x9c\xb0\xe5\x9b\xbe</a> <a href=http://v.baidu.com name=tj\_trvideo class=mnav>\xe8\xa7\x86\xe9\xa2\x91</a> <a href=http://tieba.baidu.com name=tj\_trtieba class=mnav>\xe8\xb4\xb4\xe5\x90\xa7</a> <noscript> <a href=http://www.baidu.com/bdorz/login.gif?login&tpl=mn&u=http%3A%2F%2Fwww.baidu.com%2f%3fbdorz\_come%3d1 name=tj\_login class=lb>\xe7\x99\xbb\xe5\xbd\x95</a> </noscript> <script>document.write(\'<a href="http://www.baidu.com/bdorz/login.gif?login&tpl=mn&u=\'+ encodeURIComponent(window.location.href+ (window.location.search === "" ? "?" : "&")+ "bdorz\_come=1")+ \'" name="tj\_login" class="lb">\xe7\x99\xbb\xe5\xbd\x95</a>\');\r\n </script> <a href=//www.baidu.com/more/ name=tj\_briicon class=bri style="display: block;">\xe6\x9b\xb4\xe5\xa4\x9a\xe4\xba\xa7\xe5\x93\x81</a> </div> </div> </div> <div id=ftCon> <div id=ftConw> <p id=lh> <a href=http://home.baidu.com>\xe5\x85\xb3\xe4\xba\x8e\xe7\x99\xbe\xe5\xba\xa6</a> <a href=http://ir.baidu.com>About Baidu</a> </p> <p id=cp>©2017 Baidu <a href=http://www.baidu.com/duty/>\xe4\xbd\xbf\xe7\x94\xa8\xe7\x99\xbe\xe5\xba\xa6\xe5\x89\x8d\xe5\xbf\x85\xe8\xaf\xbb</a> <a href=http://jianyi.baidu.com/ class=cp-feedback>\xe6\x84\x8f\xe8\xa7\x81\xe5\x8f\x8d\xe9\xa6\x88</a> \xe4\xba\xacICP\xe8\xaf\x81030173\xe5\x8f\xb7 <img src=//www.baidu.com/img/gs.gif> </p> </div> </div> </div> </body> </html>\r\n'
>>> type(response.body)
<class 'bytes'>
>>> from w3lib.encoding import html_to_unicode
>>> html_to_unicode("charset=None", response.body)
('utf-8', '<!DOCTYPE html>\r\n<!--STATUS OK--><html> <head><meta http-equiv=content-type content=text/html;charset=utf-8><meta http-equiv=X-UA-Compatible content=IE=Edge><meta content=always name=referrer><link rel=stylesheet type=text/css href=https://ss1.bdstatic.com/5eN1bjq8AAUYm2zgoY3K/r/www/cache/bdorz/baidu.min.css><title>百度一下,你就知道</title></head> <body link=#0000cc> <div id=wrapper> <div id=head> <div class=head\_wrapper> <div class=s\_form> <div class=s\_form\_wrapper> <div id=lg> <img hidefocus=true src=//www.baidu.com/img/bd\_logo1.png width=270 height=129> </div> <form id=form name=f action=//www.baidu.com/s class=fm> <input type=hidden name=bdorz\_come value=1> <input type=hidden name=ie value=utf-8> <input type=hidden name=f value=8> <input type=hidden name=rsv\_bp value=1> <input type=hidden name=rsv\_idx value=1> <input type=hidden name=tn value=baidu><span class="bg s\_ipt\_wr"><input id=kw name=wd class=s\_ipt value maxlength=255 autocomplete=off autofocus=autofocus></span><span class="bg s\_btn\_wr"><input type=submit id=su value=百度一下 class="bg s\_btn" autofocus></span> </form> </div> </div> <div id=u1> <a href=http://news.baidu.com name=tj\_trnews class=mnav>新闻</a> <a href=https://www.hao123.com name=tj\_trhao123 class=mnav>hao123</a> <a href=http://map.baidu.com name=tj\_trmap class=mnav>地图</a> <a href=http://v.baidu.com name=tj\_trvideo class=mnav>视频</a> <a href=http://tieba.baidu.com name=tj\_trtieba class=mnav>贴吧</a> <noscript> <a href=http://www.baidu.com/bdorz/login.gif?login&tpl=mn&u=http%3A%2F%2Fwww.baidu.com%2f%3fbdorz\_come%3d1 name=tj\_login class=lb>登录</a> </noscript> <script>document.write(\'<a href="http://www.baidu.com/bdorz/login.gif?login&tpl=mn&u=\'+ encodeURIComponent(window.location.href+ (window.location.search === "" ? "?" : "&")+ "bdorz\_come=1")+ \'" name="tj\_login" class="lb">登录</a>\');\r\n </script> <a href=//www.baidu.com/more/ name=tj\_briicon class=bri style="display: block;">更多产品</a> </div> </div> </div> <div id=ftCon> <div id=ftConw> <p id=lh> <a href=http://home.baidu.com>关于百度</a> <a href=http://ir.baidu.com>About Baidu</a> </p> <p id=cp>©2017 Baidu <a href=http://www.baidu.com/duty/>使用百度前必读</a> <a href=http://jianyi.baidu.com/ class=cp-feedback>意见反馈</a> 京ICP证030173号 <img src=//www.baidu.com/img/gs.gif> </p> </div> </div> </div> </body> </html>\r\n')
可以看到 ,Response 中的 body 属性值是 bytes 类型,通过 html_to_unicode() 方法可以将其转成 str,然后我们得到的网页文本就是 str 类型:
>>> text = html_to_unicode("charset=None", response.body)
>>> type(text[1])
<class 'str'>
接下来的这三个方法我们在上一节介绍过,正是由于有了这些属性和方法,我们便可以使用 response.xpath() 或者 response.css() 这样的写法提取网页数据。
# ...

class TextResponse(Response):
    ....

    @property
    def selector(self):
        from scrapy.selector import Selector
        if self._cached_selector is None:
            self._cached_selector = Selector(self)
        return self._cached_selector

    def xpath(self, query, \*\*kwargs):
        return self.selector.xpath(query, \*\*kwargs)

    def css(self, query):
        return self.selector.css(query)
TextResponse 类比较重要的属性和方法就这些,其他的则需要自行深入去研究相关的方法及其作用。我们现在来解答上一节提出的问题:
为什么 Scrapy 的 TextResponse 实例可以使用这样的表达式:
response.xpath(...).extrat()[0]或者response.xpath(...).extrat_first()?
接下来我们带着这个问题来继续追踪下代码。我们以上一节的例子为例,打印 response.xpath() 的返回类型:
(scrapy-test) [root@server ~]# scrapy shell https://gz.lianjia.com/ershoufang/ --nolog
...
>>> data = response.xpath('//ul[@class="sellListContent"]/li/div/div[@class="title"]/a/text()')
>>> type(data)
<class 'scrapy.selector.unified.SelectorList'>
>>>
可以看到结果是 SelectorList 实例,我们来看对应定义的代码:
# 源码位置:scrapy/selector/unified.py

from parsel import Selector as _ParselSelector
# ...

class SelectorList(_ParselSelector.selectorlist_cls, object_ref):
    """
 The :class:`SelectorList` class is a subclass of the builtin ``list``
 class, which provides a few additional methods.
 """
它直接继承的是 parsel 模块中的 selectorlist_cls。继续看这个值的定义:
# 源码位置:parsel/selector.py

class Selector(object):
    # ...

    selectorlist_cls = SelectorList

    # ...
# 源码位置:parsel/selector.py

class SelectorList(list):
    # ...

    def getall(self):
        """
 Call the ``.get()`` method for each element is this list and return
 their results flattened, as a list of unicode strings.
 """
        return [x.get() for x in self]
    extract = getall

    def get(self, default=None):
        """
 Return the result of ``.get()`` for the first element in this list.
 If the list is empty, return the default value.
 """
        for x in self:
            return x.get()
        return default
    extract_first = get
是不是找到了 extract() 和 extract_first() 方法?注意理解这段代码:
for x in self:
    return x.get()
return default
self 表示的是 SelectorList 的实例,它其实也是一个列表,列表中的元素是 Selector 的实例。这个 for 循环相当于取的是一个元素,然后直接返回,返回的值是 x.get(),这里又会涉及 Selector 类的 get() 方法 :
# 源码位置:parsel/selector.py
from lxml import etree, html
# ...

class Selector(object):
    # ...
    def get(self):
        """
 Serialize and return the matched nodes in a single unicode string.
 Percent encoded content is unquoted.
 """
        try:
            return etree.tostring(self.root,
                                  method=self._tostring_method,
                                  encoding='unicode',
                                  with_tail=False)
        except (AttributeError, TypeError):
            if self.root is True:
                return u'1'
            elif self.root is False:
                return u'0'
            else:
                return six.text_type(self.root)

    # ...
我们可以同样在 Scrapy Shell 中来继续做个测试:
>>> data_list = response.xpath('//ul[@class="sellListContent"]/li/div/div[@class="title"]/a/text()')
>>> type(data_list)
<class 'scrapy.selector.unified.SelectorList'>
>>> data = data_list[0]
>>> type(data)
<class 'scrapy.selector.unified.Selector'>
>>> data.get()
'地铁口 总价低 精装实用小两房'
Selector 的 get() 方法最后提取出了我们匹配的文本,因此在 SelectorList 中的 extract()[0] 和 `extract\_first() 方法将得到同样的结果:
>>> response.xpath('//ul[@class="sellListContent"]/li/div/div[@class="title"]/a/text()').extract_first()
'地铁口 总价低 精装实用小两房'
>>> response.xpath('//ul[@class="sellListContent"]/li/div/div[@class="title"]/a/text()').extract()[0]
'地铁口 总价低 精装实用小两房'
这样一步步追踪和实验,源码里面很多的语句就会清晰明了,我们在使用 Request 和 Response 类时便会显得更加得心应手。Request 实例化时需要哪些参数,Response 的实例有哪些方法可用, 这些疑惑在源码面前都会迎刃而解。
3. 小结
本节主要是深入 Scrapy 的源码去了解框架中定义的 Request 和 Response 类,通过源码我们就能了解其可用的属性和方法,只有这样我们才能掌握和使用好 Scrapy 框架。